That which grows in the garden

I got this fortune from a cookie in 2010. It struck me as completely hilarious, and I briefly toyed with the idea of launching a Twitter feed called “Ominous Fortune Cookie” comprised solely of, not so much depressing, as darkly foreboding aphorisms inspired by this one incredibly creepy saying. I gave up on that plan, eventually, in part because crafting good ones turns out to be rather a challenge, and there was no way I could keep up the pace.

So, I’ve had this thing on my refrigerator, in one home or another, for almost five years now, and only last month, when I looked at it, did it occur to me that there is, in fact, a glass-half-full interpretation: character, I suppose, might grow in the garden. Spiritual insight. Peace. A sense of connection to the natural world and to all living things, everywhere, throughout time and the boundless reaches of the universe, forever and ever amen. Shantih shantih shantih, yada yada yada.

So now I’m curious if the evolution of my understanding of this fortune cookie provides some kind of unique Rorshach-blot-type insight into my mind. For me, this arrangement of these dozen words tends to evoke thoughts, first and foremost, of weeds, grubs, and other pests, and that’s just at the most superficial, literal level of interpretation. This is a fortune cookie, after all, and the language of prophecy is always richly metaphorical, and among metaphors, The Garden is an especially rich one. If things are growing in the garden besides that which was planted there, surely it must be bad sign, no? Or is it just me?

Wire coil bulb vase

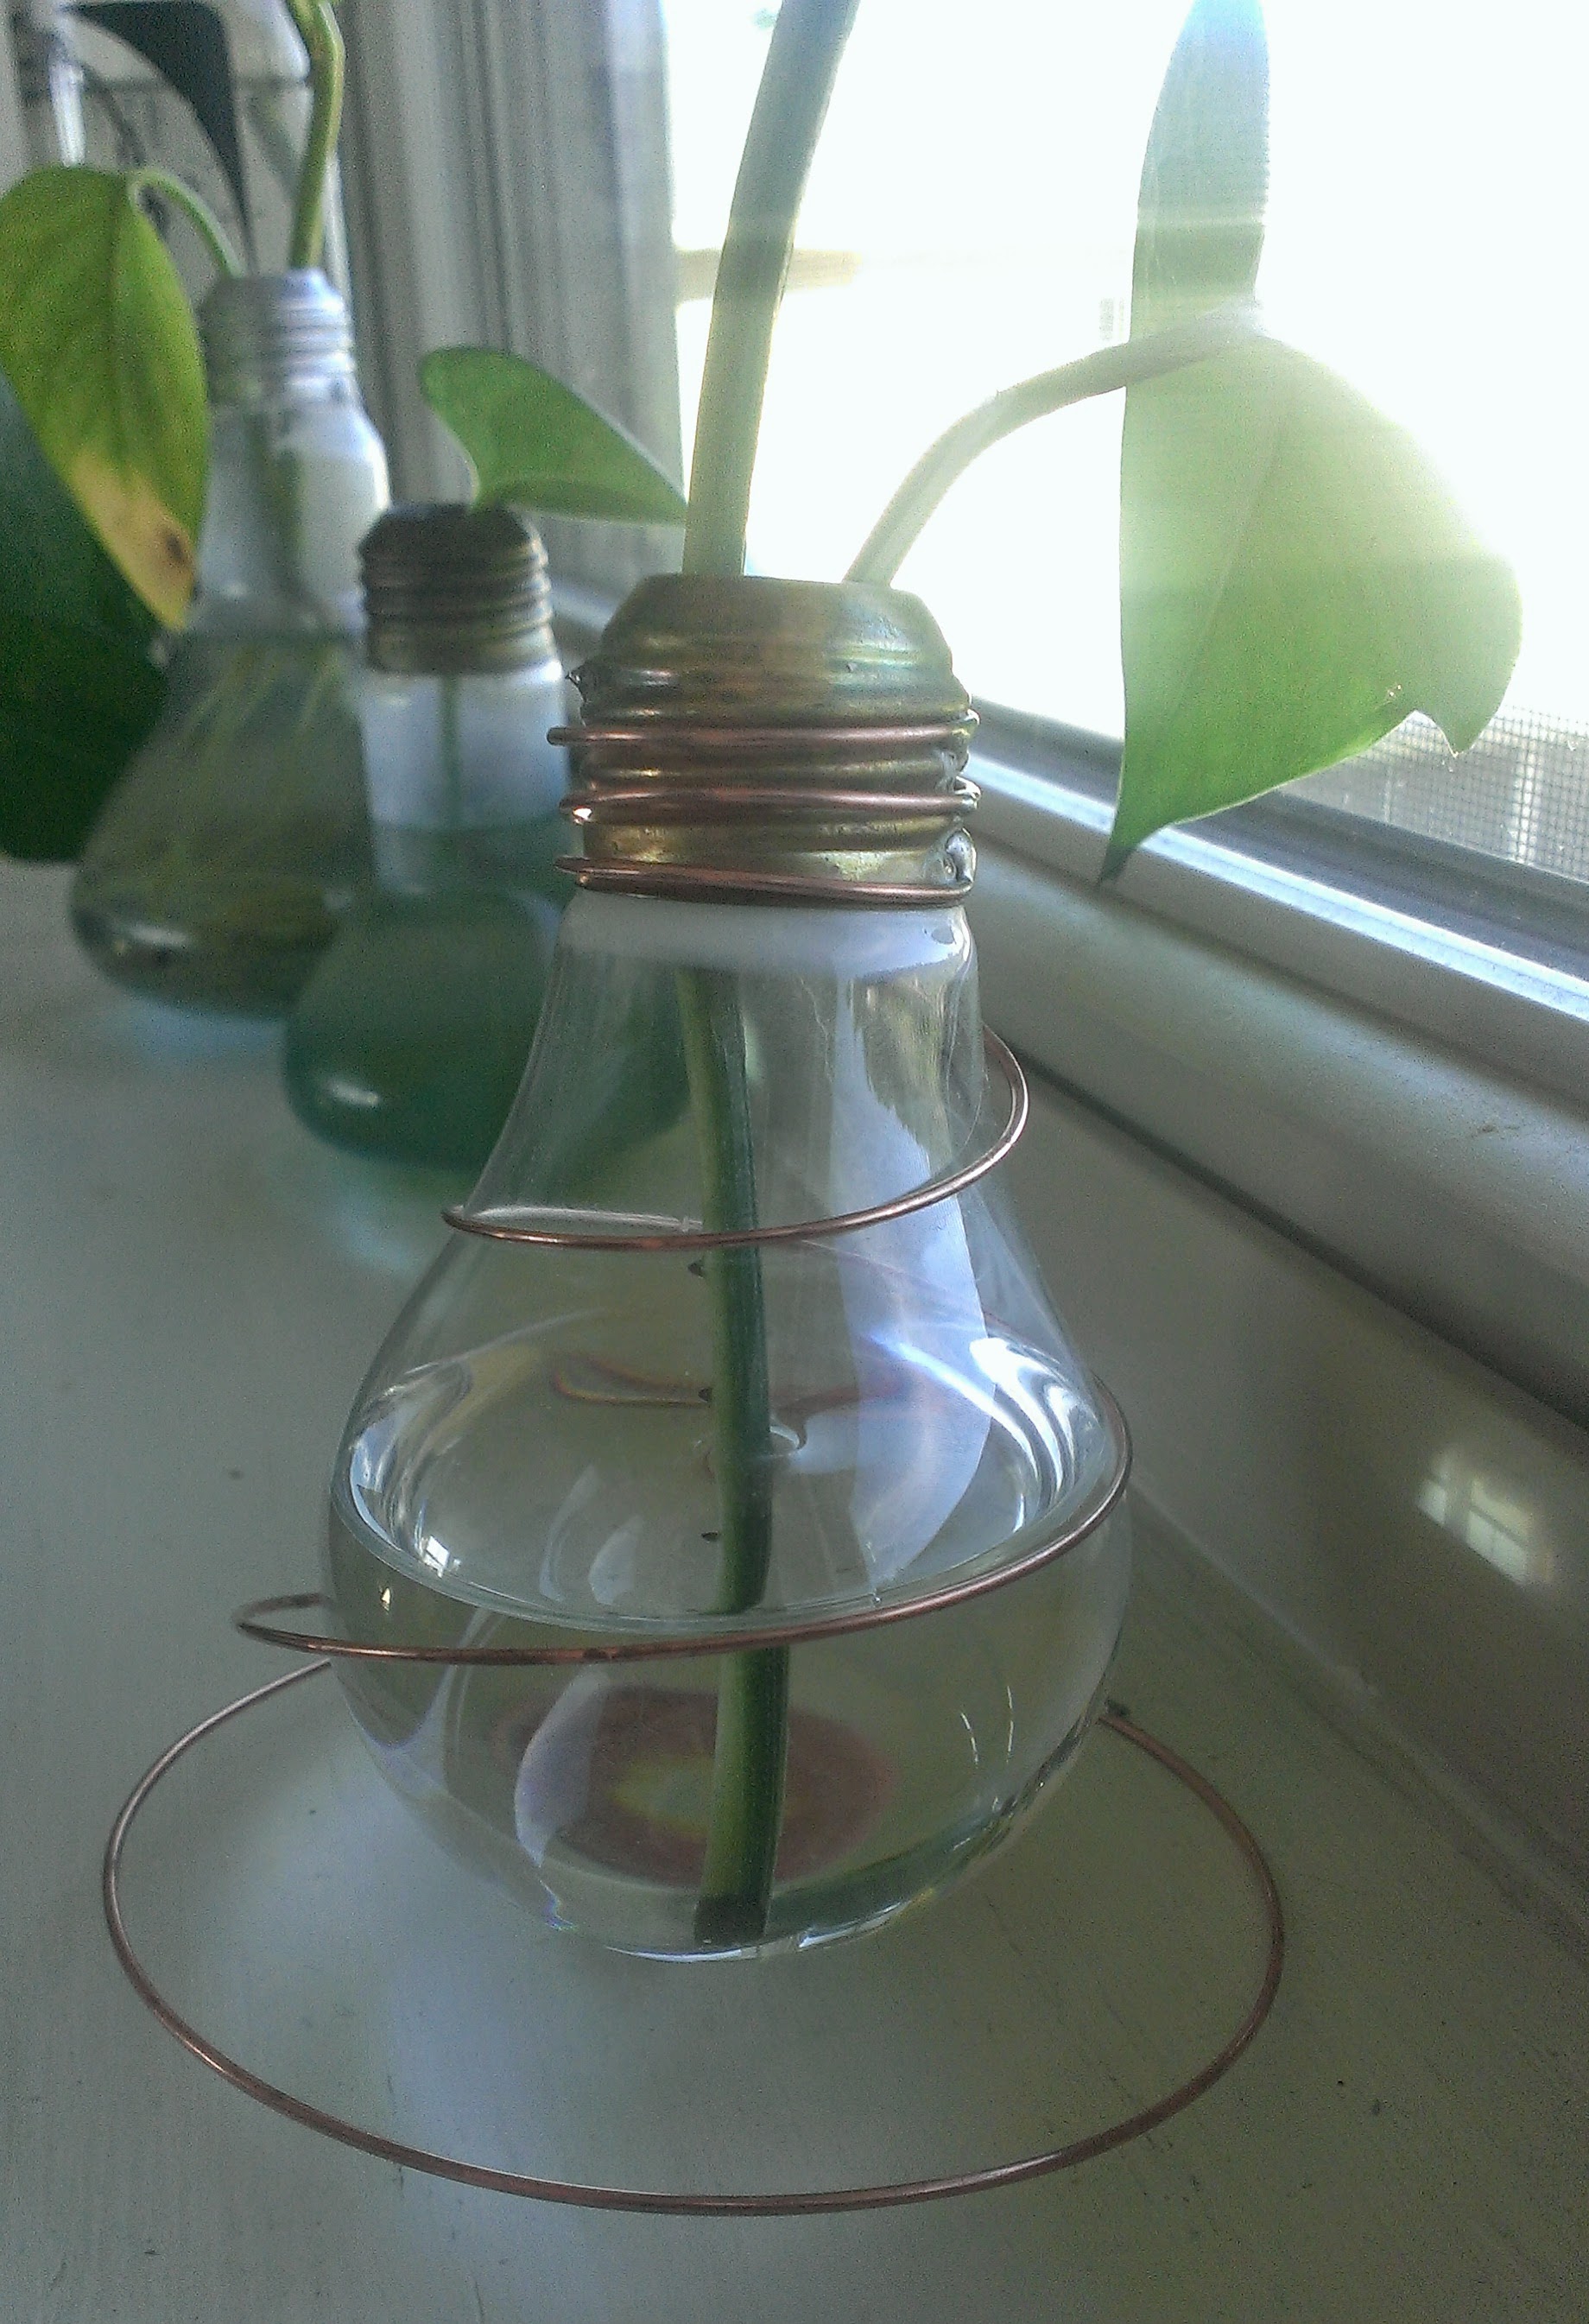
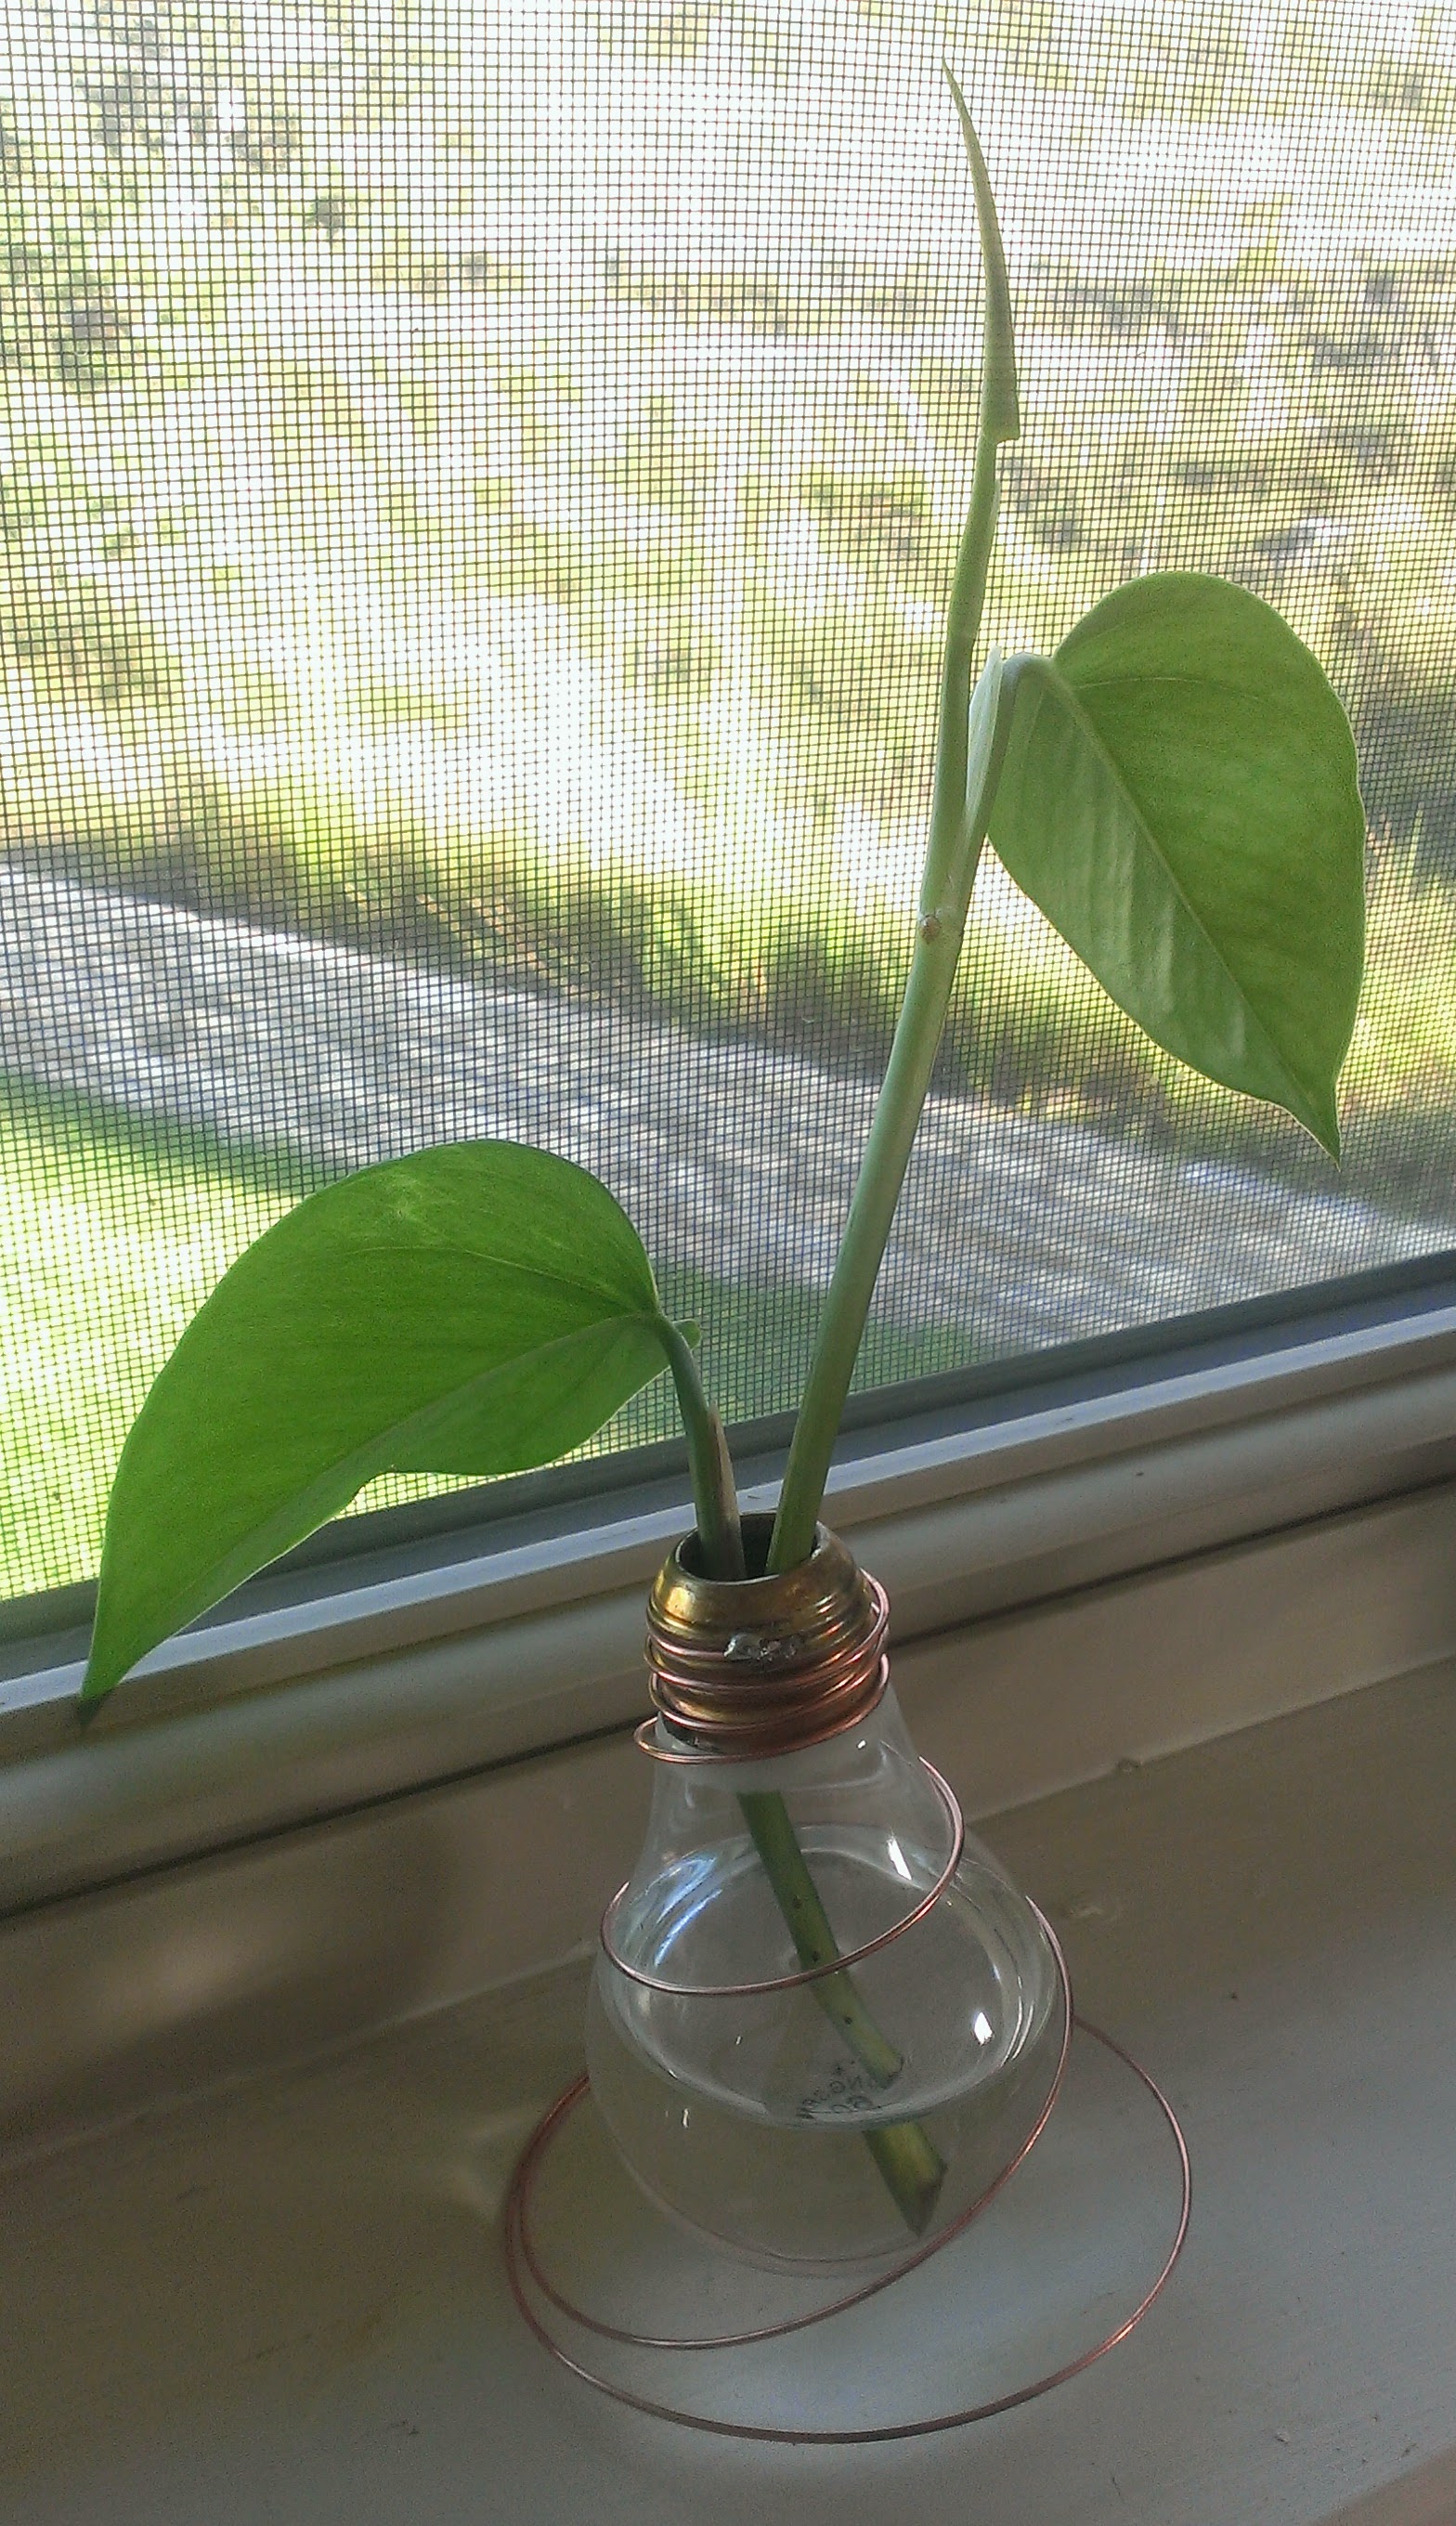
I have written several times before about this old trick of using a hollowed-out incandescent light bulb as a bud vase. Hollowing out the bulb is easy enough; the challenge is to make it stand upright. A rubber or brass O-ring works but can get lost. Specialized self-supporting bulb shapes are easiest but largely defeat the purpose of creative reuse (what if the one you have to recycle isn’t one of the unusual self-supporting types?). Rearview mirror cement offers some interesting options but the vases I made this way did eventually fail, perhaps due to thermal stress on the metal/glass unions.

soldered-wire-coil-stand

Here’s another method that occurred to me recently, which I rather like. It just takes some copper wire and a soldering iron. The coil is soldered to the bulb’s screw base at one end and to itself, in one place, to make the bottom ring. I used 22 gauge bare copper wire here, which is what I had on hand, but a slightly heavier gauge would probably work better.

wire-coil-bulb-vase-stand-detail

It’s easy to do, cheap, looks good, requires no especially unusual materials, and results in a one-piece construction with nothing to get separated and lost.

Improved mounting for Glass Bead Projection Screen

Screen-back-detail

screen-back-modified-with-french-cleats
Moving into the new place gave me a chance to update the half-assed method I’d used to hang my original Glass Bead Projection Screen per a comment from a reader that went up on the original makeprojects.com link shortly after the project first published back in 2011. That link’s long dead and unfortunately the comments didn’t survive the transition to the new link on MAKE’s WordPress platform, so I can’t give credit where credit is due. If you were the commenter in question, please do drop me a line and I will update this page accordingly.

cleats-detail

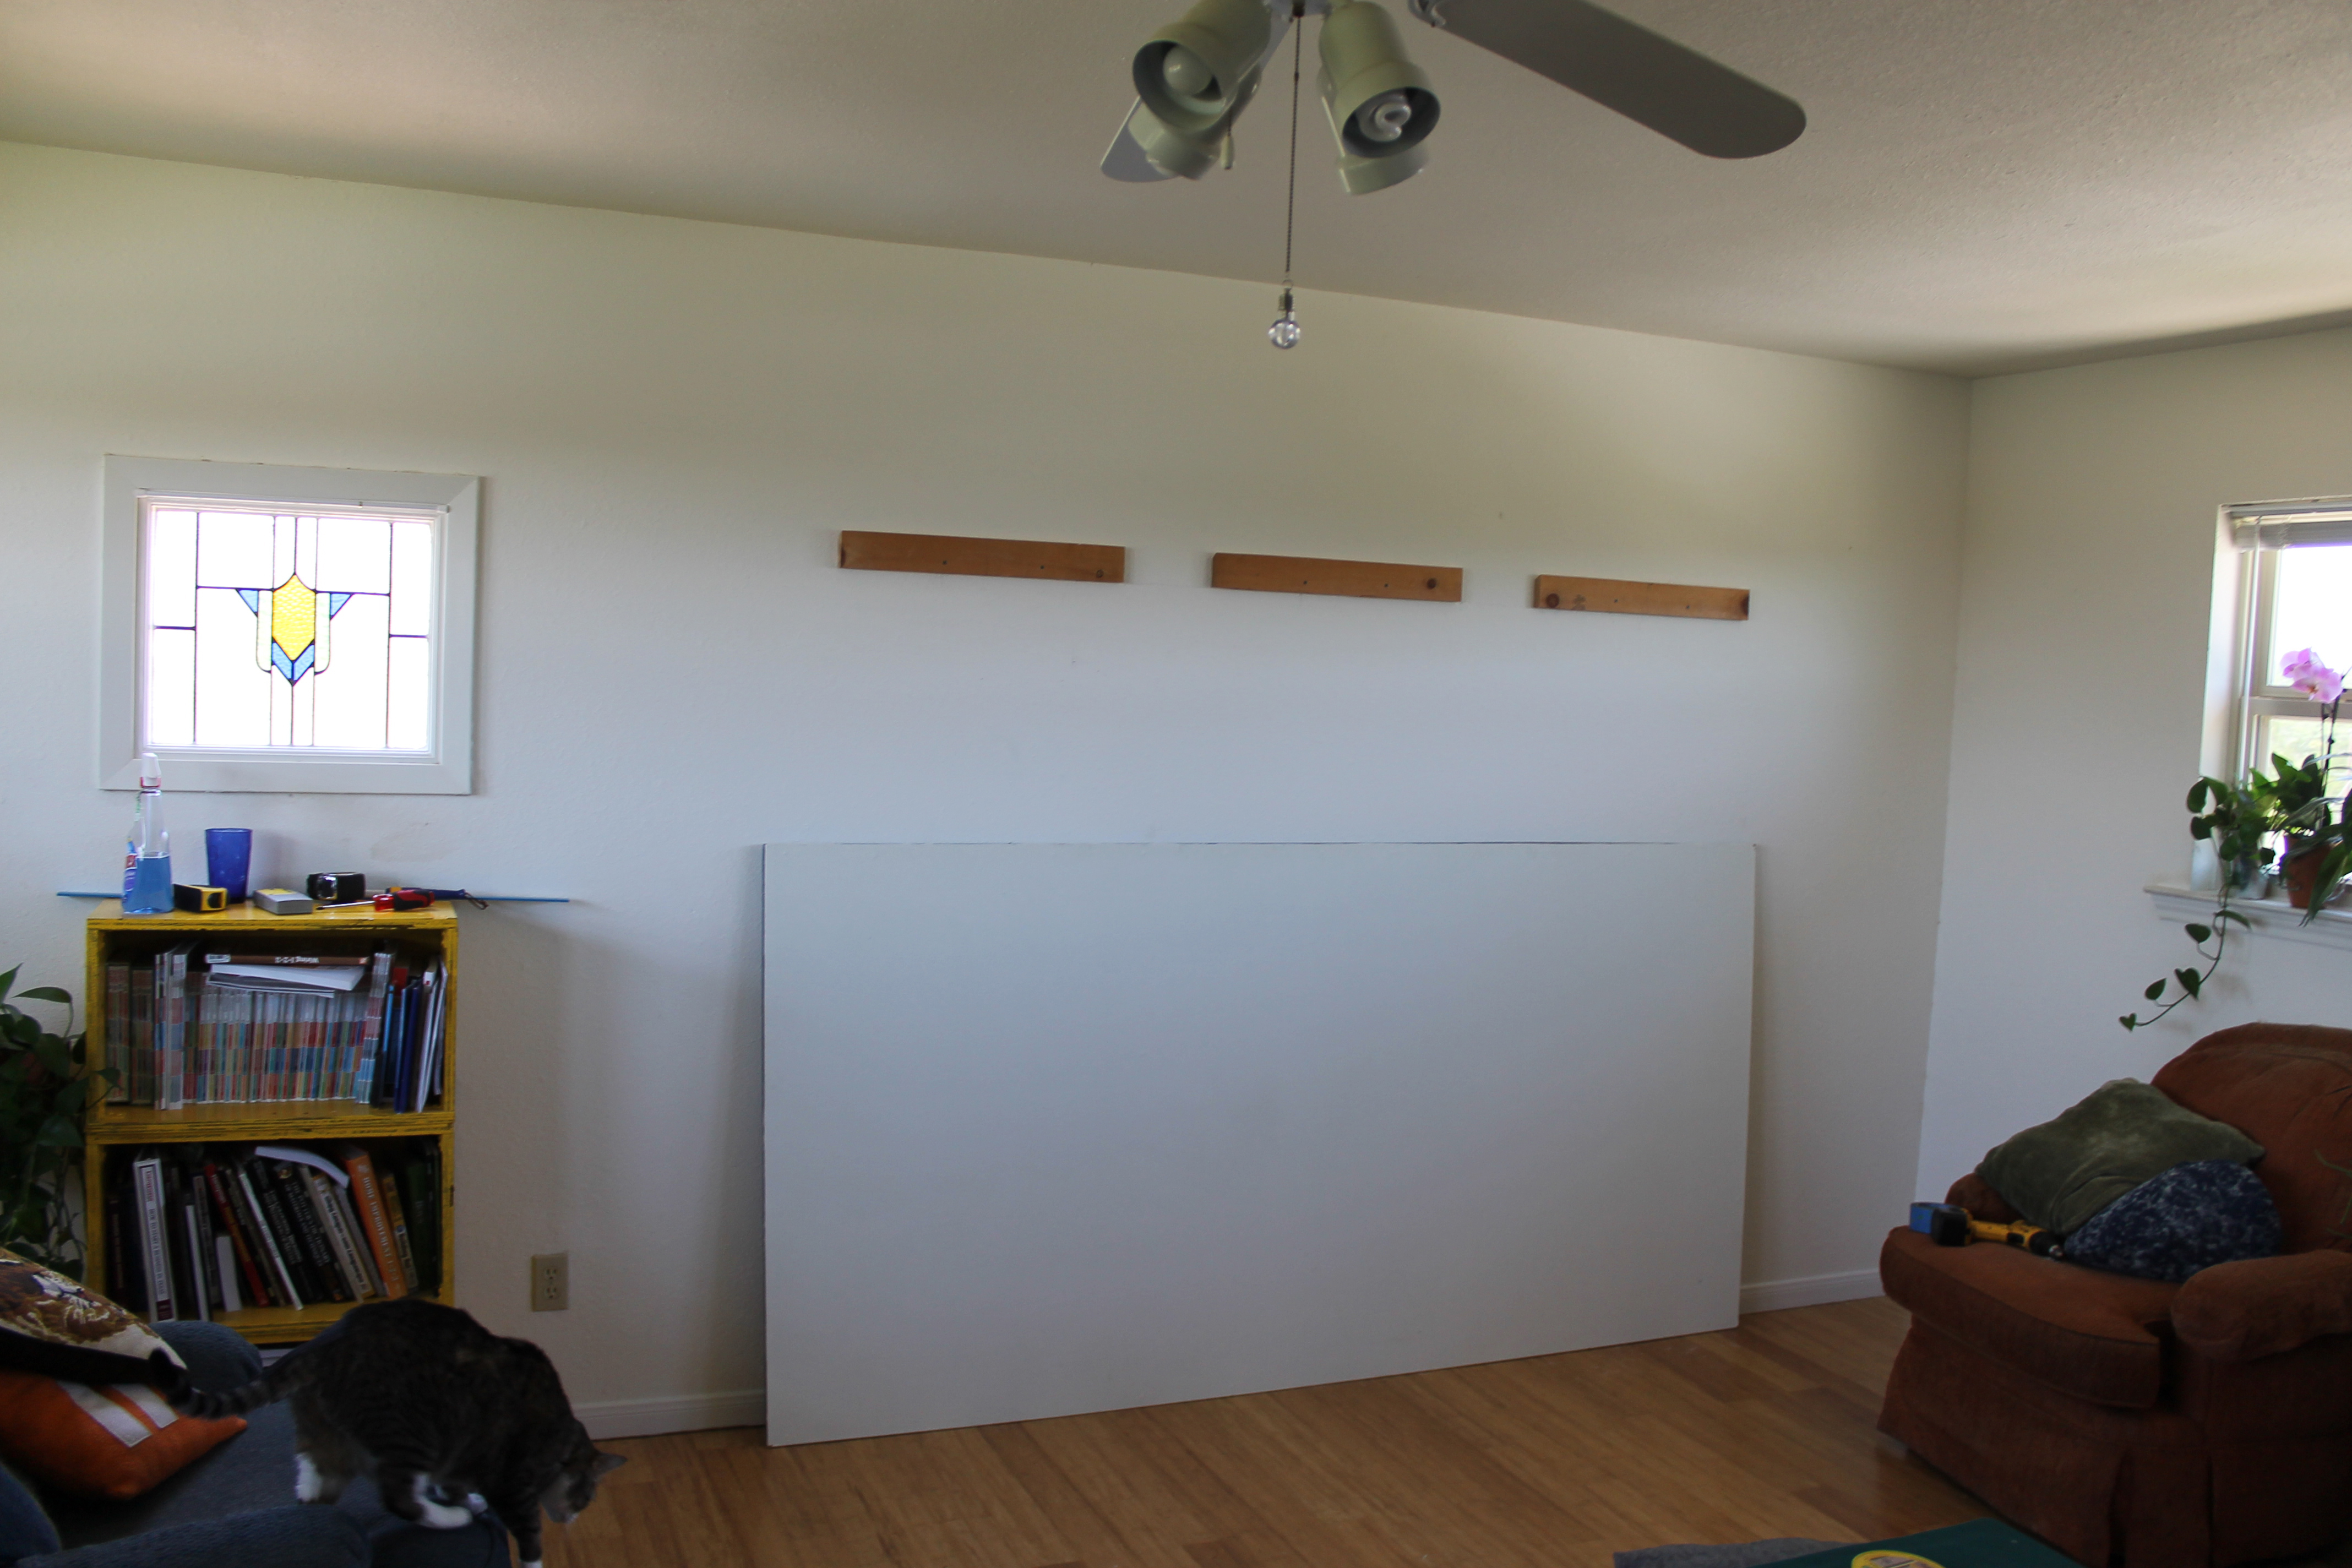
cleats-on-wall

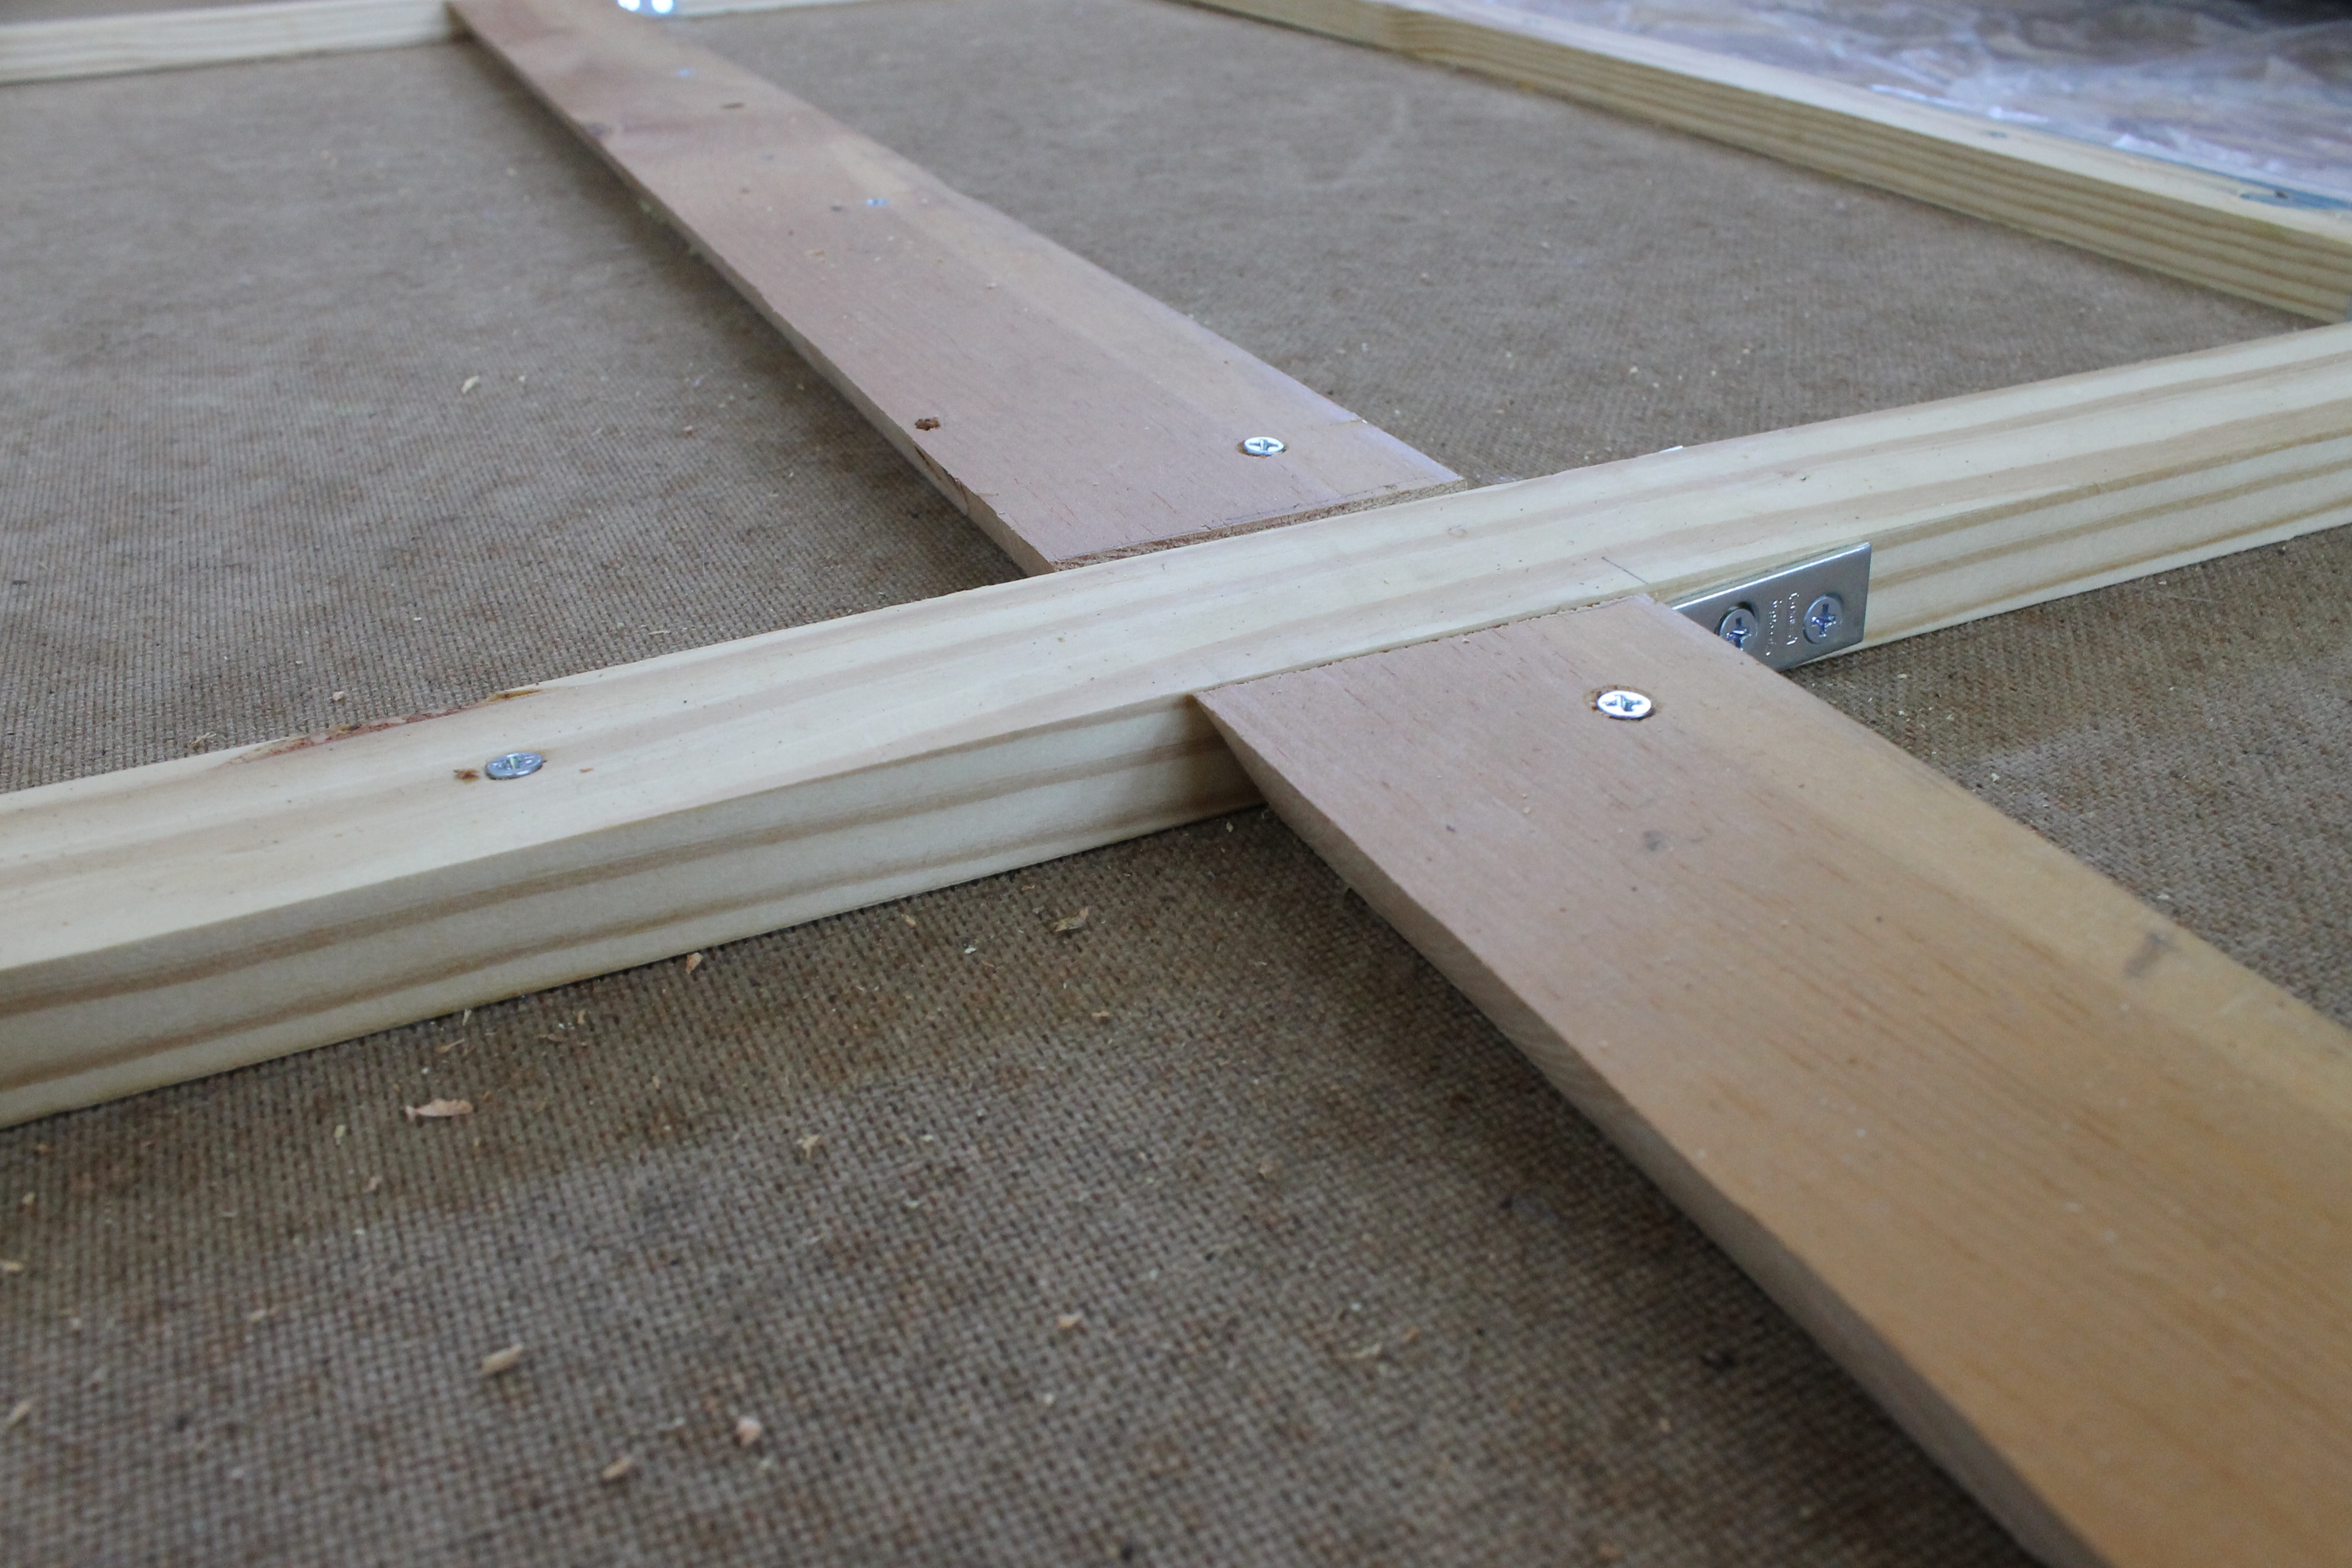
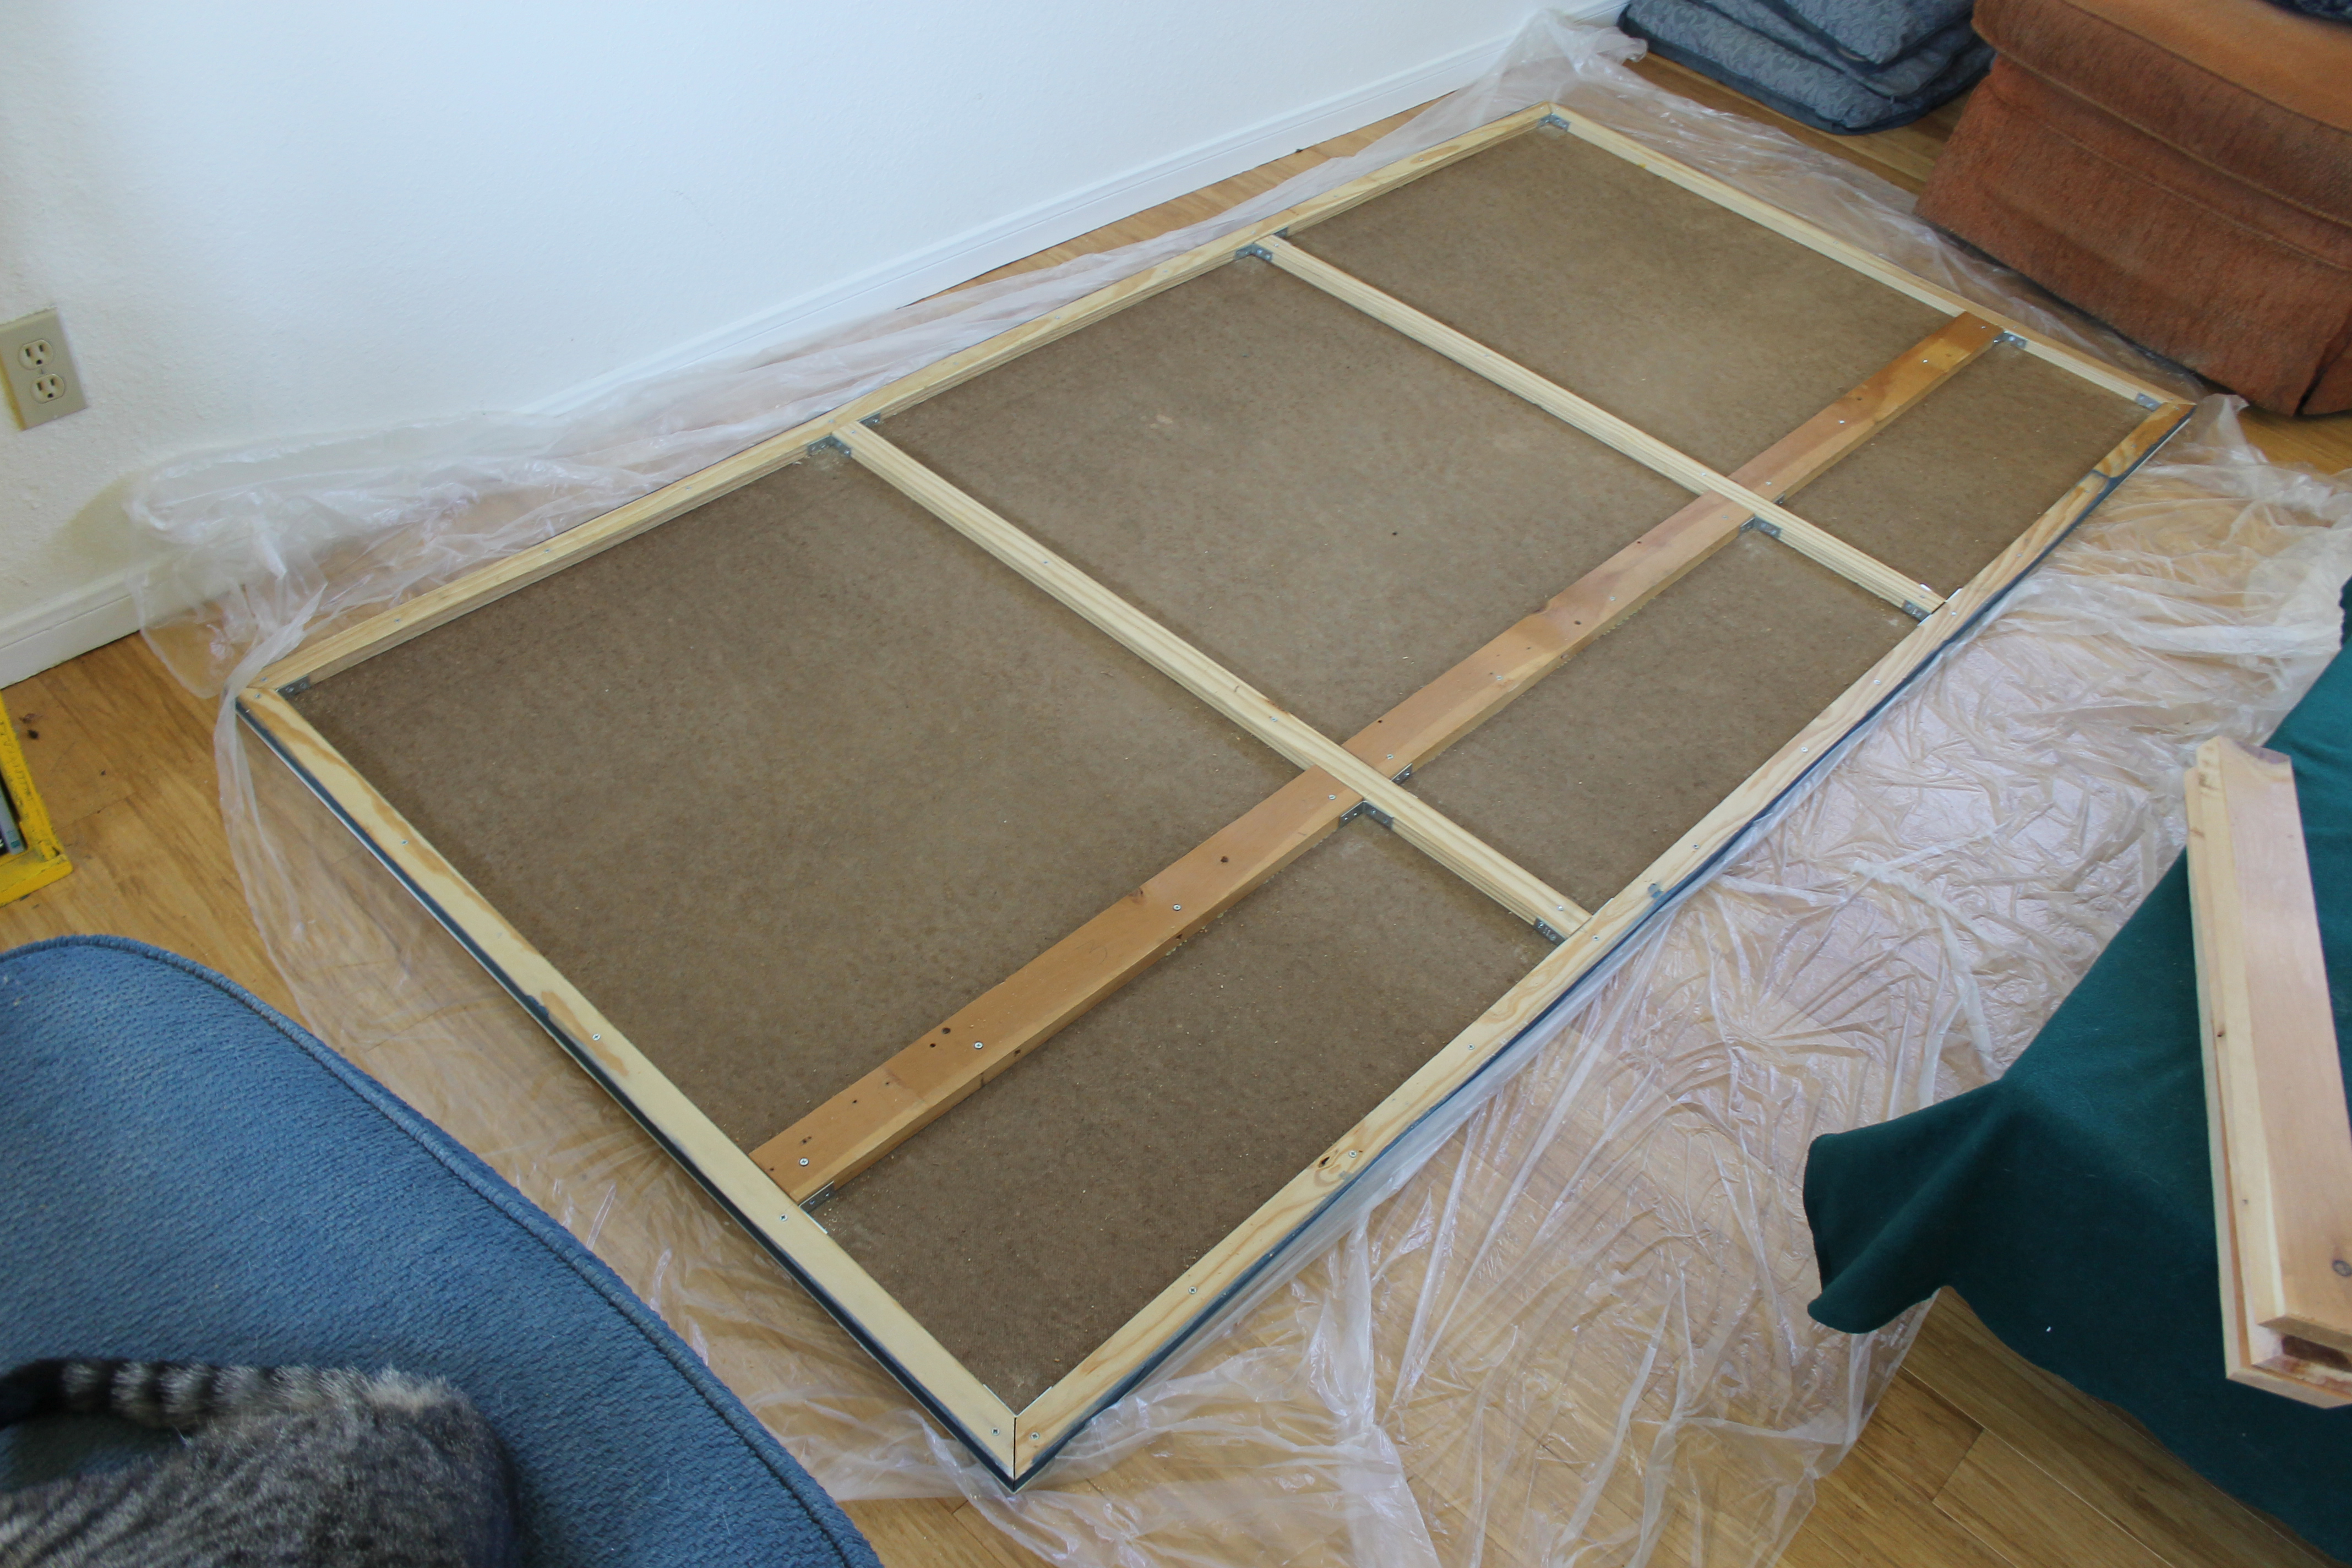
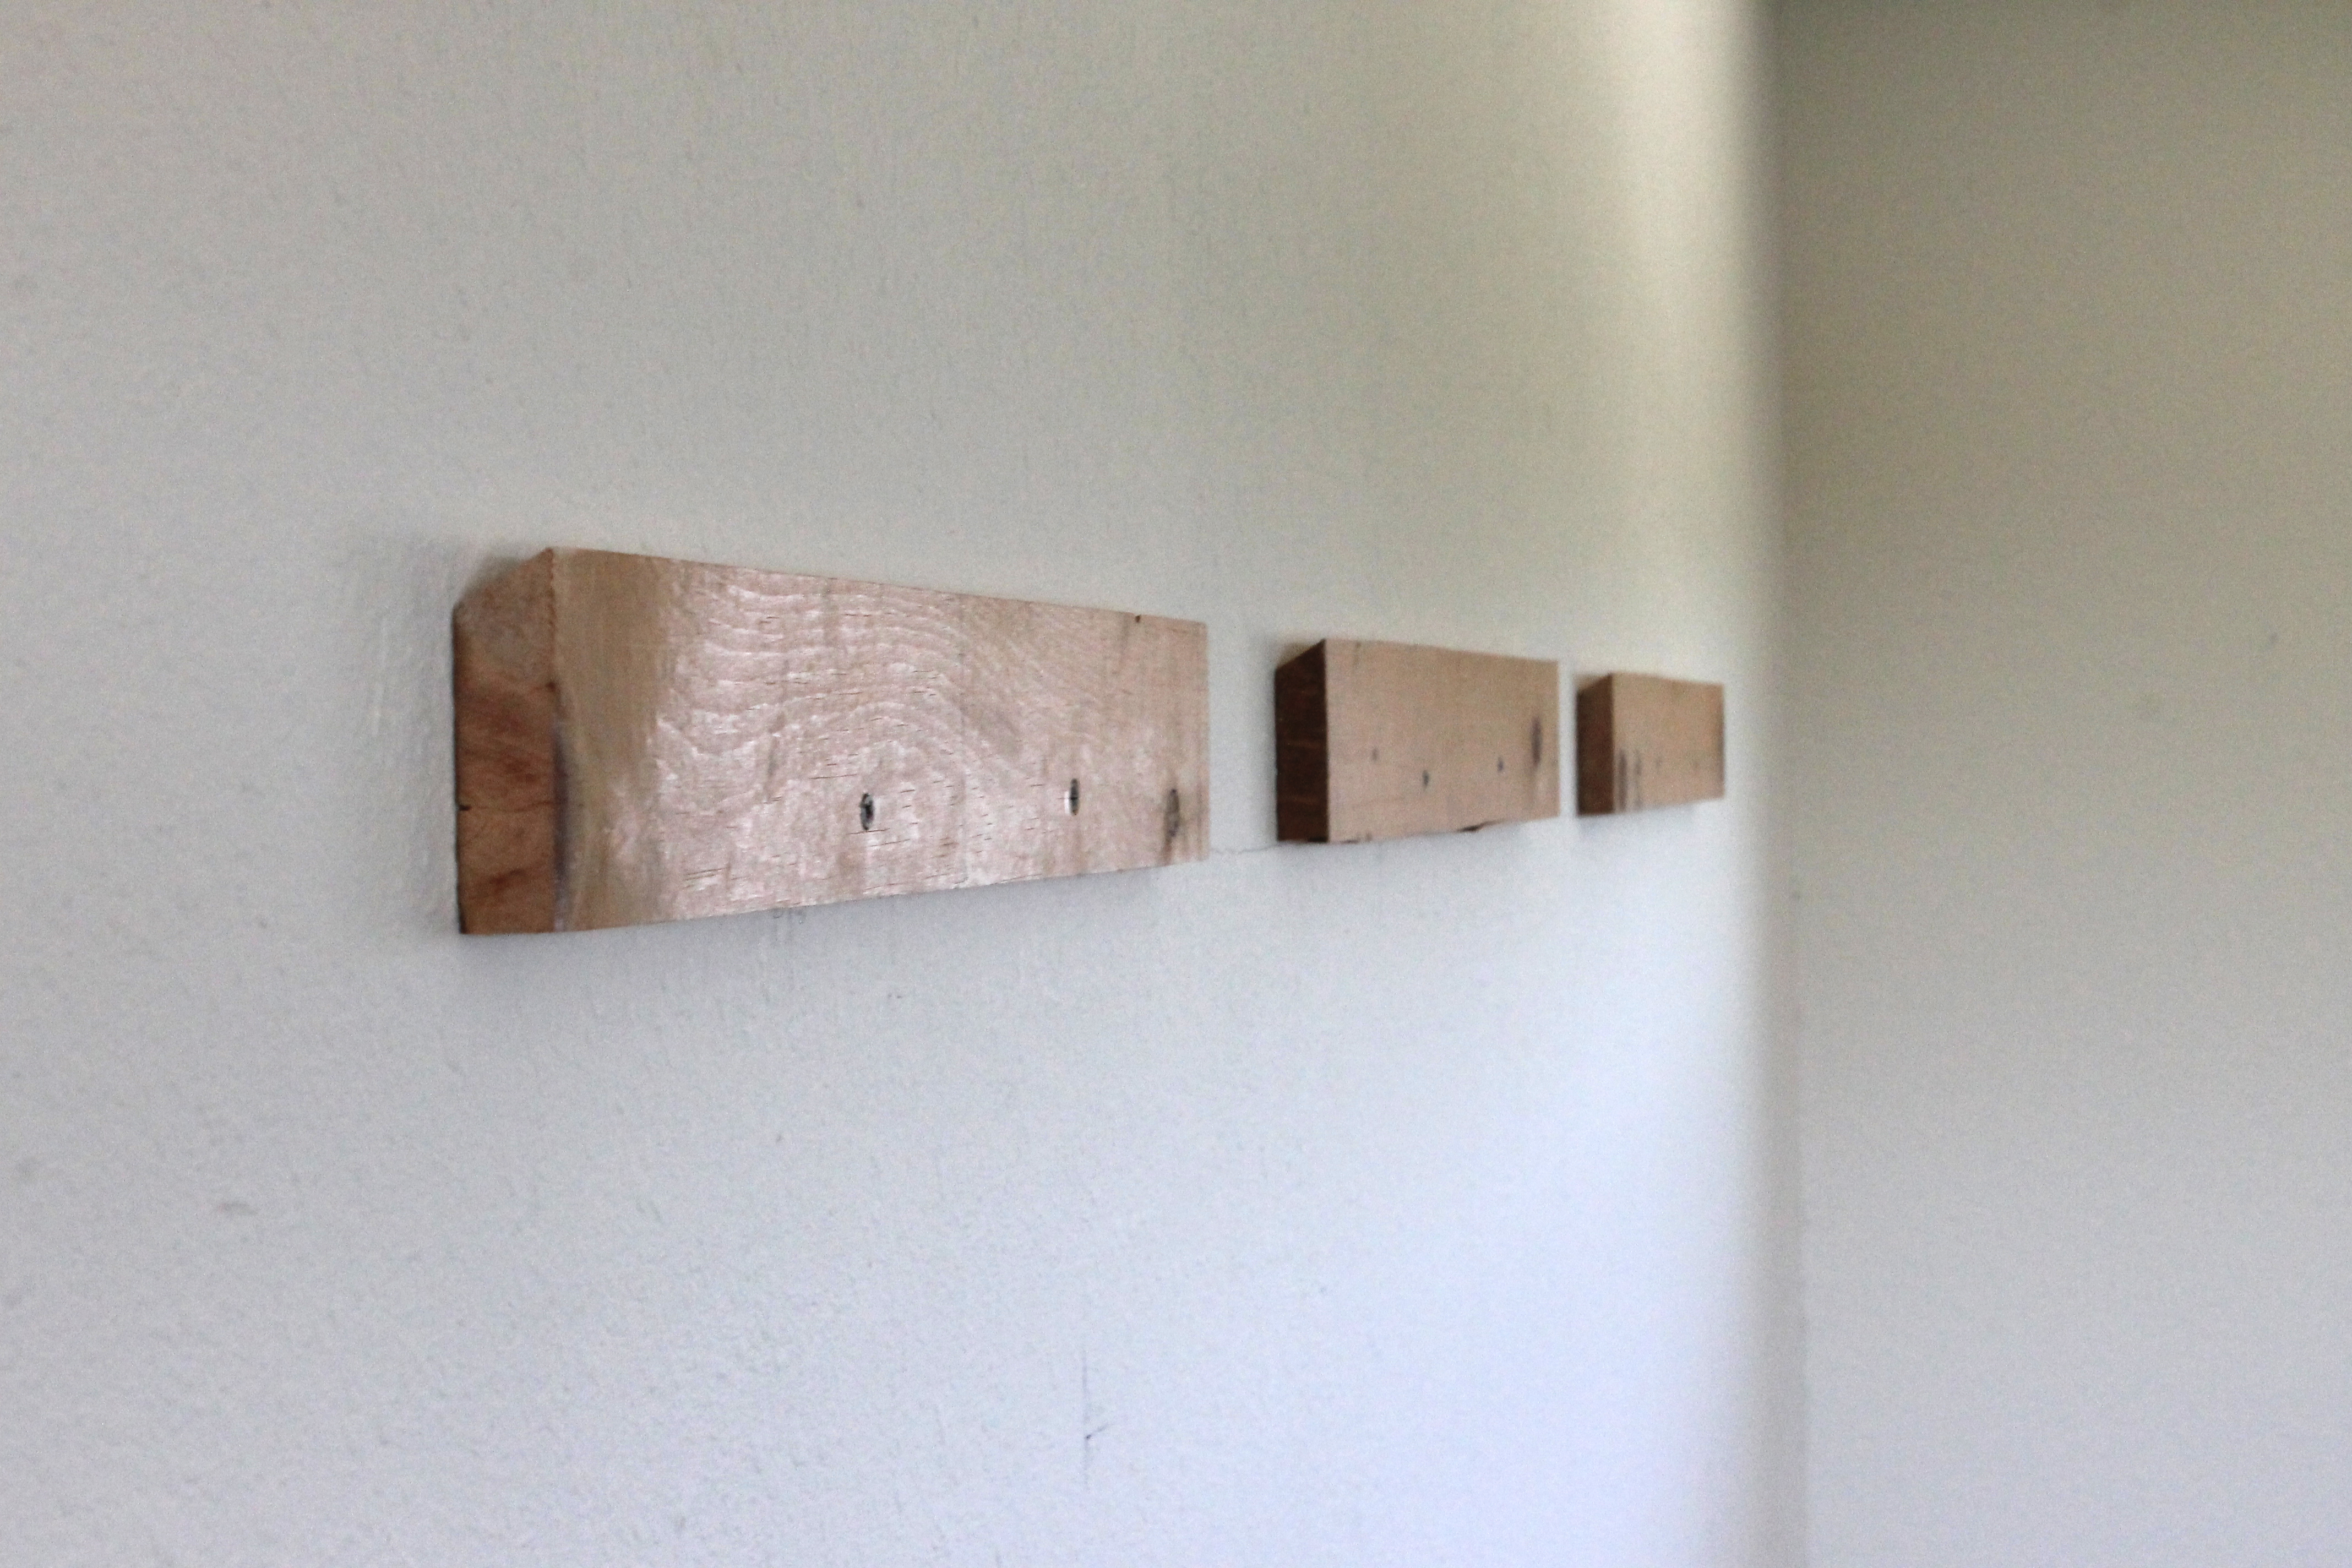
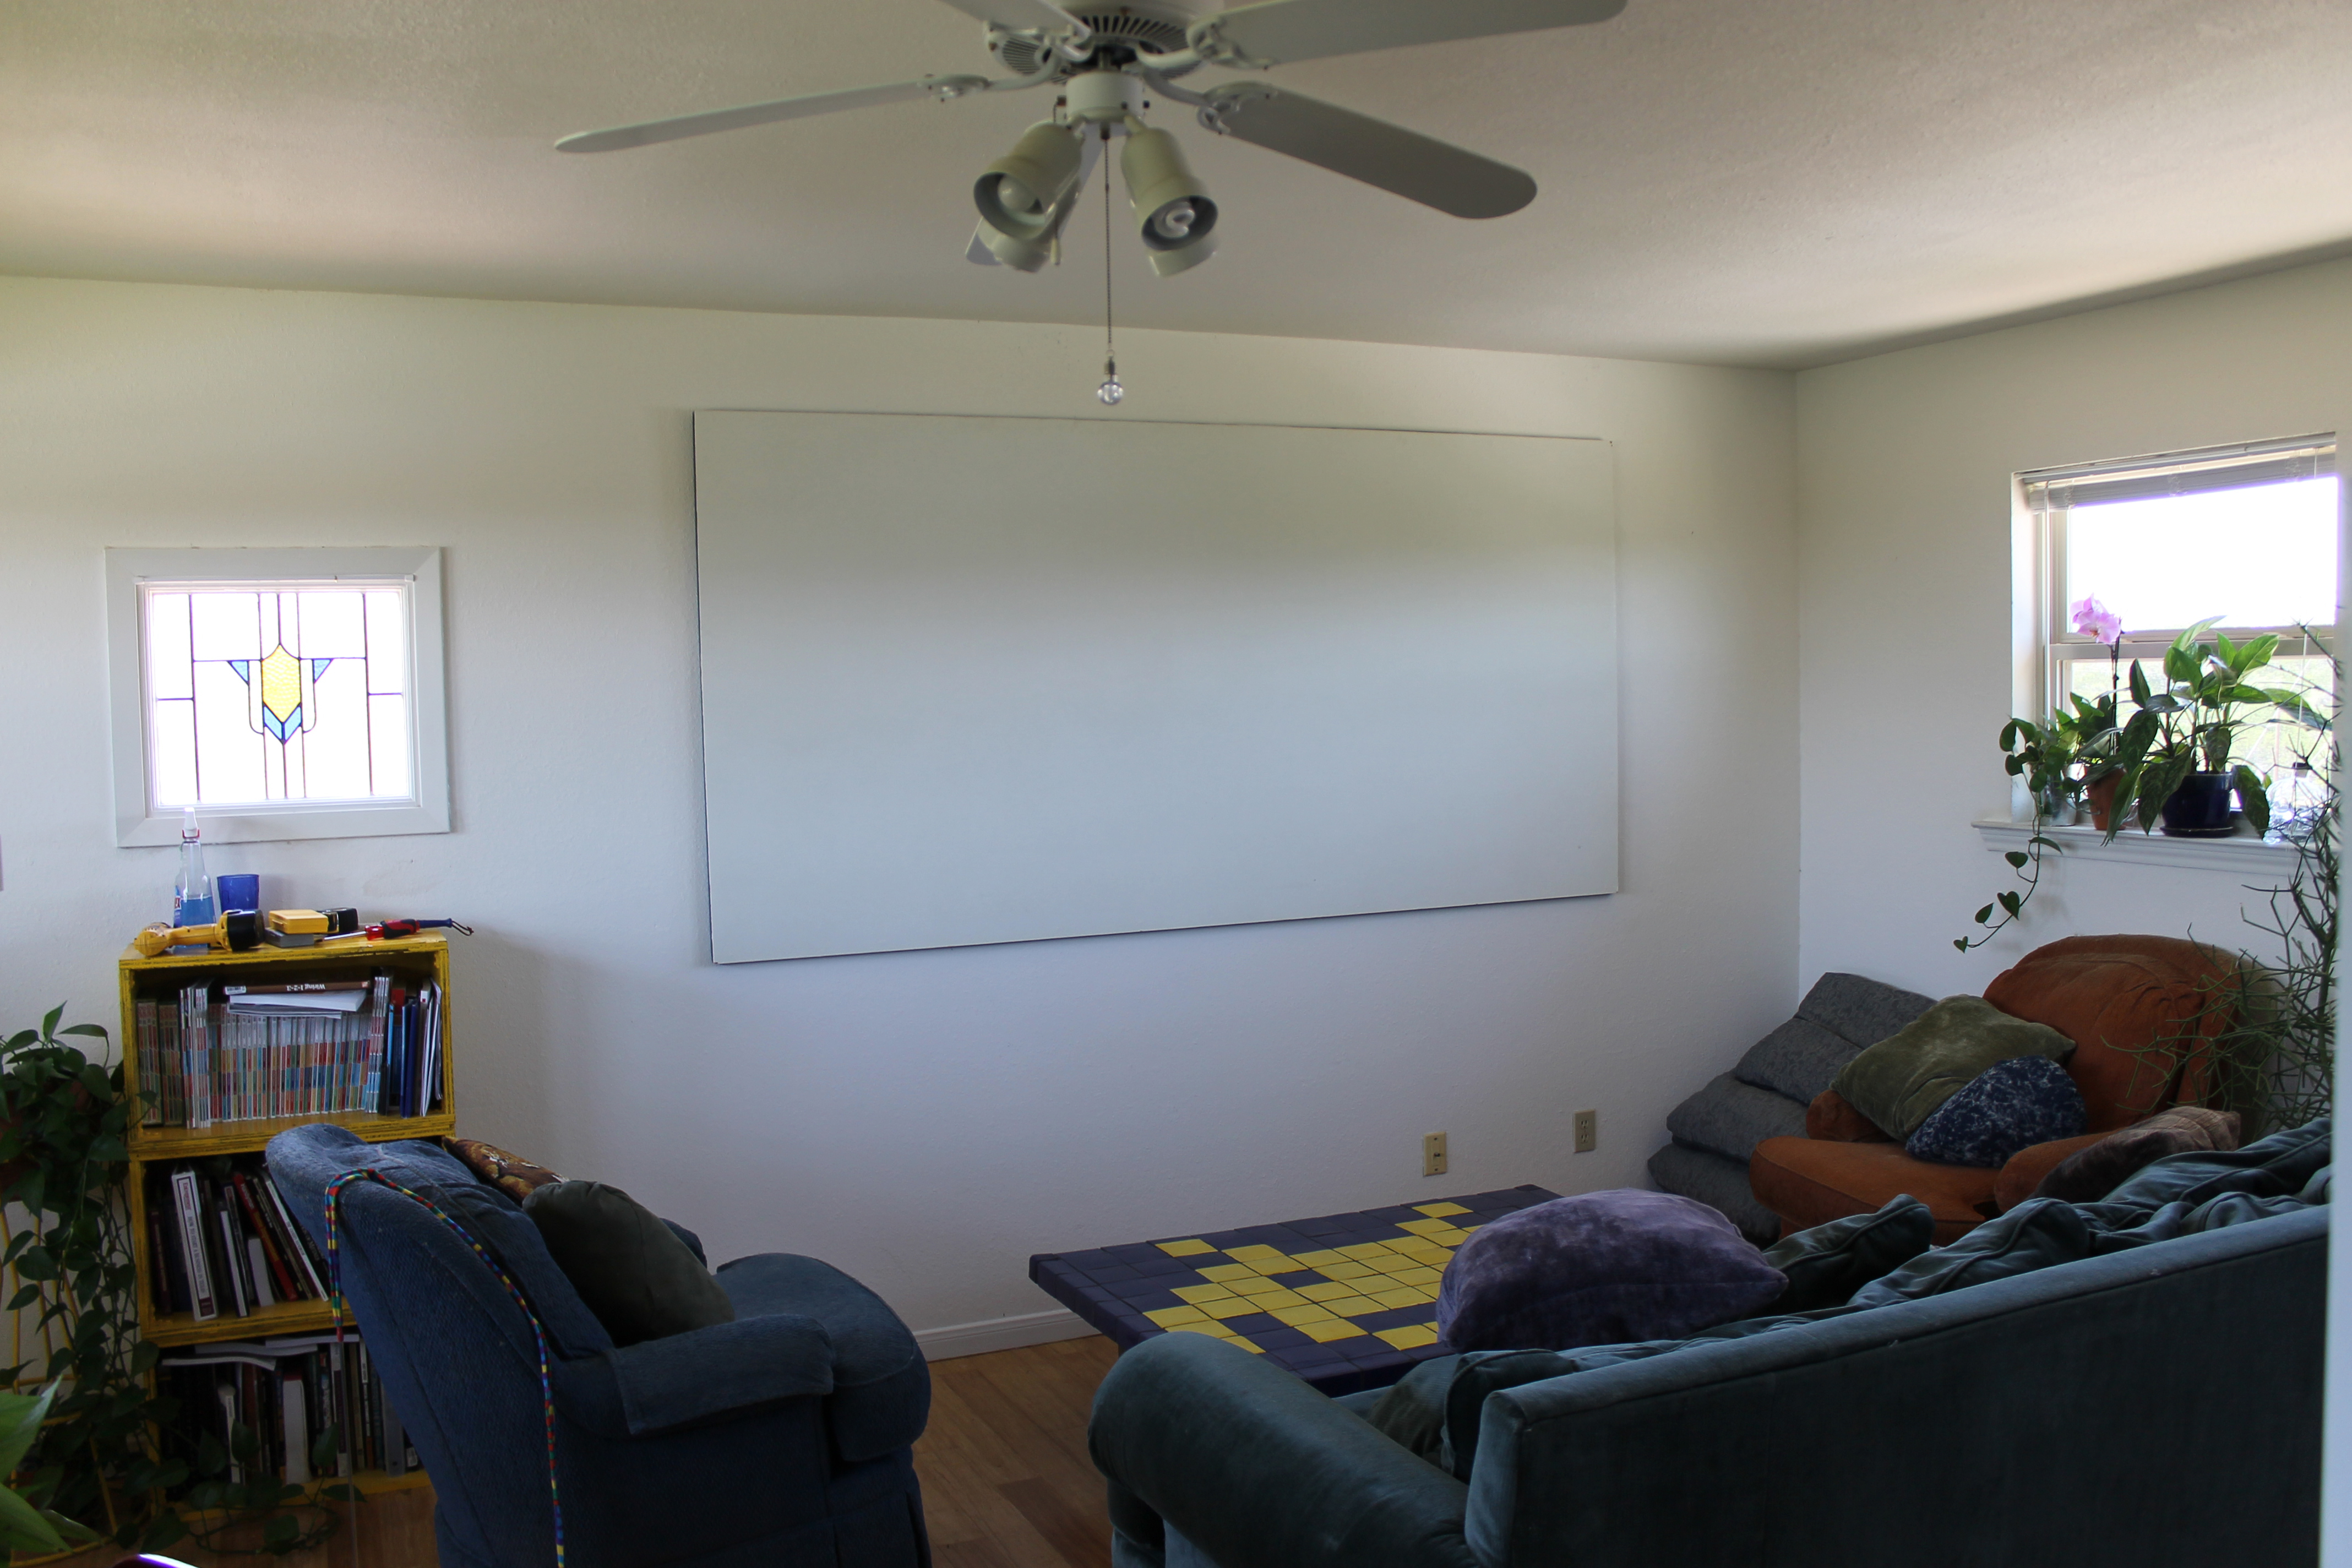
In any case: The suggestion was to hang the screen using a french cleat (Wikipedia), which proved to be a great idea. I ripped the cleat myself on our table saw, and opted for a 30 degree cleat angle. Attaching the cleat to the back of the screen was a bit tricky because of the vertical support members in the screen frame, but I figured out a way to do it by splitting the cleat into three parts. These were first glued to the back of the hardboard screen itself using carpenters glue, then secured with short wood screws that penetrate into the screen but not all the way through. These had to be installed in pre-drilled holes to keep from causing bumps to rise on the screen surface, and the drilling depth had to be carefully controlled to keep from penetrating all the way through. Finally, the cleats were secured to the adjacent vertical frame members, at their upper corners, using short steep corner brackets and their bundled screws.

screen-in-place