Tactile guitar cues applied with tape embosser

I’ve been playing Rocksmith a lot, lately, and the “Ducks” minigame has me moving up and down the length of the fretboard pretty quickly and pretty accurately, now, without looking.  But I’m still concerned my 30-something reflexes will never be able to keep up with the obsessive Japanese preteens I just know are monopolizing the top ten spots on the leaderboard.

Not without an edge, that is.

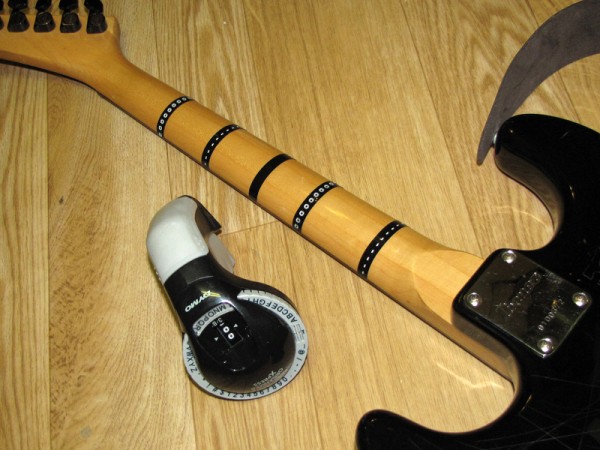
This trick—using a Dymo embosser to put tactile indicators on the backside of the neck—works pretty well. At least so far as the physical hack itself, goes: The labels are cheap, don’t look awful, stick firmly even after a lot of use, and yet can be removed easily enough without damaging the neck or its finish. In use, they index against the thumbpad on the fretting hand.

The strips are centered behind each of the “dotted” frets: three, five, seven, nine, and 12. Originally, I embossed the corresponding number characters into the tapes, but found in practice that my thumb cannot really feel the difference between a “5” and a “3.” But this ternary scheme (using capital letters “O,” dashes, and a single blank strip of tape at the seventh fret) works pretty well. These are easily distinguishable by touch. So far it hasn’t made too much difference, in practice, but I think in the long run it will.

So look out, IEatzBilletzNomNomNom.  I am coming for you.

My college self’s idea of evil genius…

…included making counterfeit rewards cards for used CD stores using my then-fancy 600 dpi all-in-one scanner/color inkjet printer, my student-licensed copy of Photoshop, and some Avery printable business card paper. I’d bought one CD, getting one card and one stamp, then used Photoshop to extract the stamp image and duplicate it nine more times. I don’t think I ever actually tried to pass one of these, but I could have. Which was the whole point, I think: “First, a free used CD worth $8.99 or less, then the world!

Adobe PhotoShop spies for counterfeiters

Pop up warning from Adobe PhotoShop CS2 v.9.0 on loading a photograph of a US $20 banknote.

Check out the pop-up love note I got from Adobe PhotoShop CS2, version 9.0, when I opened a photograph, taken on my digital camera, showing a real $20 banknote lying next to 6 same-sized blank sheets of white paper. While this image was open, I also could not adjust the resolution of the image using the “Image Size” tool. The original photo, that gave this warning, contained the whole bill. Once I’d cropped it to the photo shown here, saved the image, and opened it again, the warning went away and PhotoShop resumed behaving normally.

Does vitamin C defeat counterfeit test pens?

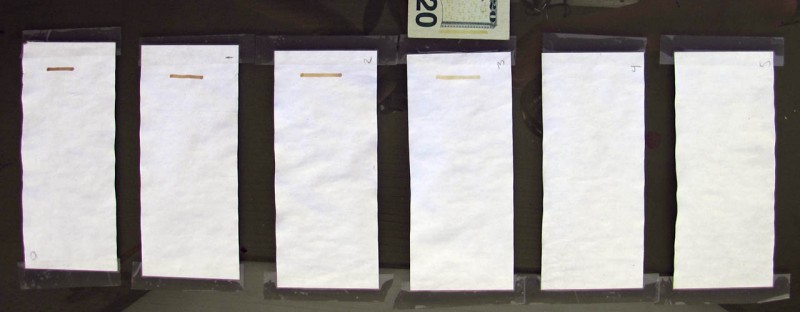
My test strips showing too strong, too weak, and just right.

From left to right, test sheets have been treated with 0.000, 0.007, 0.015, 0.030, 0.060, and 0.120 M ascorbic acid from ground vitamin pills, allowed to dry, ad marked with a counterfeit test pen. The 0.030 M solution produces a stable color that is very close to the mark on a real US $20 note, top. That color only becomes stable after about 30 seconds, however, and the visible color change over time is not seen on authentic bills.

Well, sort of.

Some time ago, a friend reported to me a rumor he’d heard that Aqua Net hairspray could be applied to regular paper to defeat a counterfeit test pen. I tested it, and found it wasn’t true, at least not with the kind of Aqua Net I used. But in the course of reading up to perform that test I learned that counterfeit test pens work by the common starch-iodine reaction: Iodine and starch create a complex species that has a distinct blue-black color. Currency paper has no starch in it, whereas most common paper does. So if your paper turns blue on exposure to iodine that’s a pretty good sign it isn’t real currency paper. That, or some jerk has treated your real money with spray-on laundry starch which (though I haven’t tested this, yet), would probably make real currency paper test as counterfeit.

Anyway, so I knew from that little experiment how the pens work, and when a buddy at MAKE recently rehashed our invisible inkjet printer project from Vol 16, I realized that the chemistry in use there, in which vitamin C inhibits the starch-iodine reaction to develop an invisible ink, might well imply that a solution of vitamin C would also defeat the same reaction when it’s used in a counterfeit test pen.

Turns out I was kind of right. Just kind of. A 0.030 M solution of vitamin C (ascorbic acid) made from ground-up vitamin supplements gives the counterfeit pen a stable color on normal office copy paper that is hard to distinguish, visually, from the color of the pen on a real banknote. Trouble is, it takes awhile to reach that stable color. Like 30 to 45 seconds. It’s darker, at first, and then fades. Stronger solutions of vitamin C make the mark fade more rapidly and to a lighter color than is “correct,” whereas weaker solutions do not fade the mark as much and leave a darker color than is “correct.” Specific experimental details are in small print below.

So, it appears to me that vitamin C does not actually “inhibit” the starch-iodine reaction; rather, it out-competes it energetically. The product of the reaction of vitamin C with iodine is, I think, more stable than the starch-iodine complex, but the starch-iodine complex forms faster. So you get a visibly dark starch-iodine reaction which fades to a lighter color as the iodine is drawn off to react with vitamin C.

10 x 1000mg vitamin C tablets were ground in a mortar and pestle and stirred overnight with 2 cups carbon-filtered tap water to prepare a 0.120 M solution of ascorbic acid (and possibly other pill ingredients that have not been identified or controlled for). Serial dilution produced solutions of 0.060, 0.030, 0.015, and 0.007 M concentrations. Water from the same source was used as a control. Bill-sized pieces of Office Depot copy paper were cut, rolled, and each soaked overnight in a test tube containing one of the six test solutions. The next day, the rolled papers were removed from the test tubes, unrolled by hand, and couched on separate folded paper towels to dry overnight. They were then taped to a piece of plate glass and an approximately 1-inch mark was applied using a commercial counterfeit test marker. A new US $20 note was also marked for comparison. The samples were photographed immediately, and after one-half hour. The samples were marked again, and each mark filmed to record the first 30 seconds of the color reaction’s time course. The 0.030 M solution was found to give stable color that very closely matched the marked reference bill by visual inspection. Weaker solutions gave darker marks that were not deceptive, and stronger solutions gave faint or completely absent marks.

Interesting military bomb disposal document from 1975

Like many people, I enjoyed The Hurt Locker. Although it certainly achieved an atmosphere of gritty realism, I found myself dubious about some of the specific protocols the protagonist EOD technicians used in dealing with IEDs. I can really say nothing, of course, about how realistic it may or may not have actually been, because I have no experience with EOD (thankfully), and those who do aren’t talking. Render safe procedures, as the actual technical details of bomb disposal are known, are highly protected tradecraft, for obvious reasons: If the bad guys find out how you defuse bombs, they can protect against those procedures or, even worse, design traps for them.

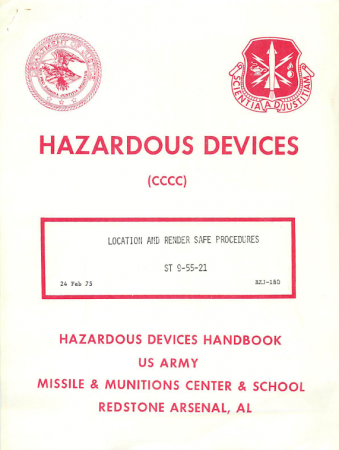
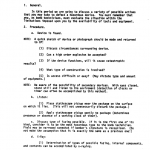
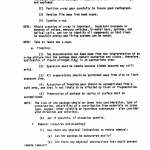
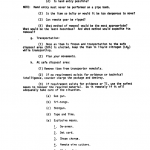
It is basic common sense that Hollywood-style cut-the-blue-wire-with-the-white-stripe-not-the-black-wire-with-the-yellow-stripe bomb defusing almost never happens, if at all. Still, I was curious enough about the real-world details of RSPs to Google around, a bit, to see if any SOPs, training material, or other official information had leaked out onto the web. This effort was unproductive, but an Amazon search for “render safe procedures” actually produced an active Marketplace listing for a 6-page Army pamphlet titled Hazardous Devices: Location and Render Safe Procedures. It was just a couple bucks, which I plunked down out of curiosity. The listing has since vanished, but the pamphlet showed up in the mail a few days later. I scanned it; you can download the PDF if you want.

The document bears no kind of secrecy markings, and, as I said, was purchased on the open market. Also, it is dated to 1975, making whatever tradecraft it reveals some 35 years out of date. I therefore feel comfortable circulating it as a techno-historical curiosity.

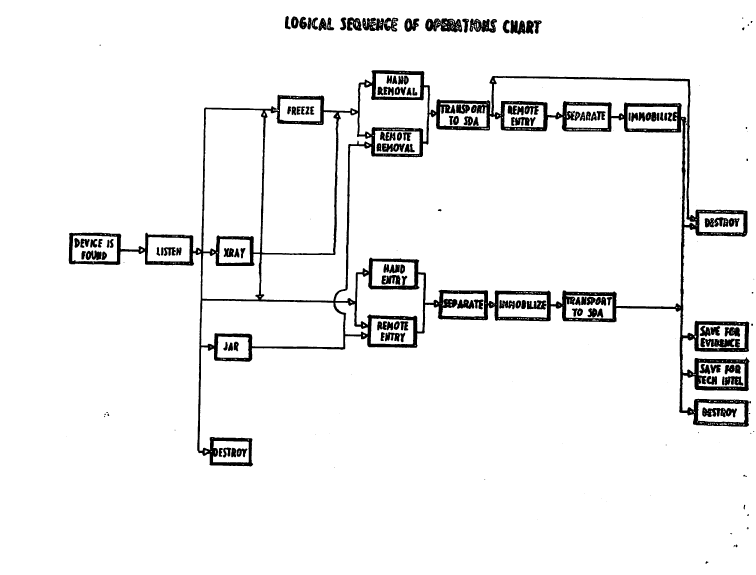
It is essentially an annotated flowchart for dealing with an object suspected of being a bomb. Its obsolescence is highlighted by the fact that the first recommended step is to listen to the object (via conduction through the surface on which it rests) with a stethoscope, in order to determine if it contains a mechanical clock. Still, some interesting info, here.